Maintaining working smoke alarms and having a family escape plan are just two things every family should consider when it comes to protecting those you love (and live with).
Generic Instructions
These instructions are for battery powered smoke and carbon monoxide alarms. Installation of an alarm is easy, and should only take a few minutes. These instructions are generic – make certain you check the packaging of any alarm you acquire for specific instructions.
NOTE: Do NOT attach a smoke or carbon monoxide alarm to the ceiling with tape or glue. The alarm will not function if it has fallen from the ceiling.
How To Install A Smoke/Carbon Monoxide Alarm
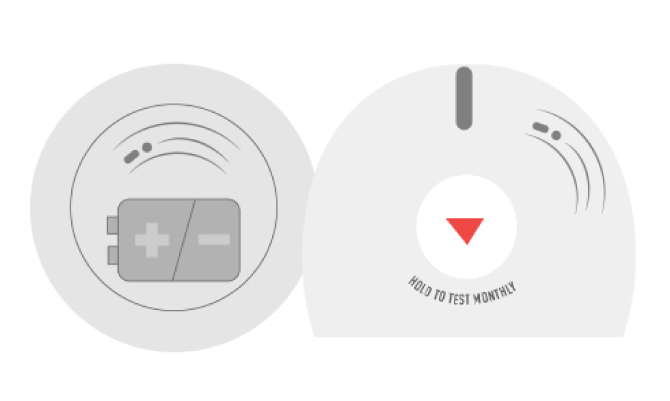
Step #1
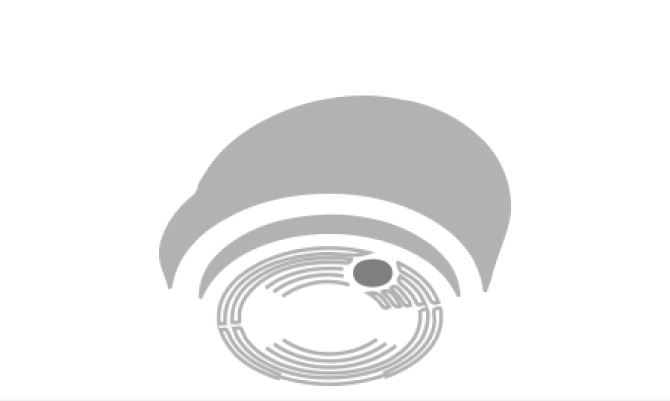
Open the back of the Smoke/carbon monoxide alarm and install the batteries. Usually, there is a diagram on the bottom of the battery well for your reference. Press the TEST button to ensure the alarm is working.
Step #2
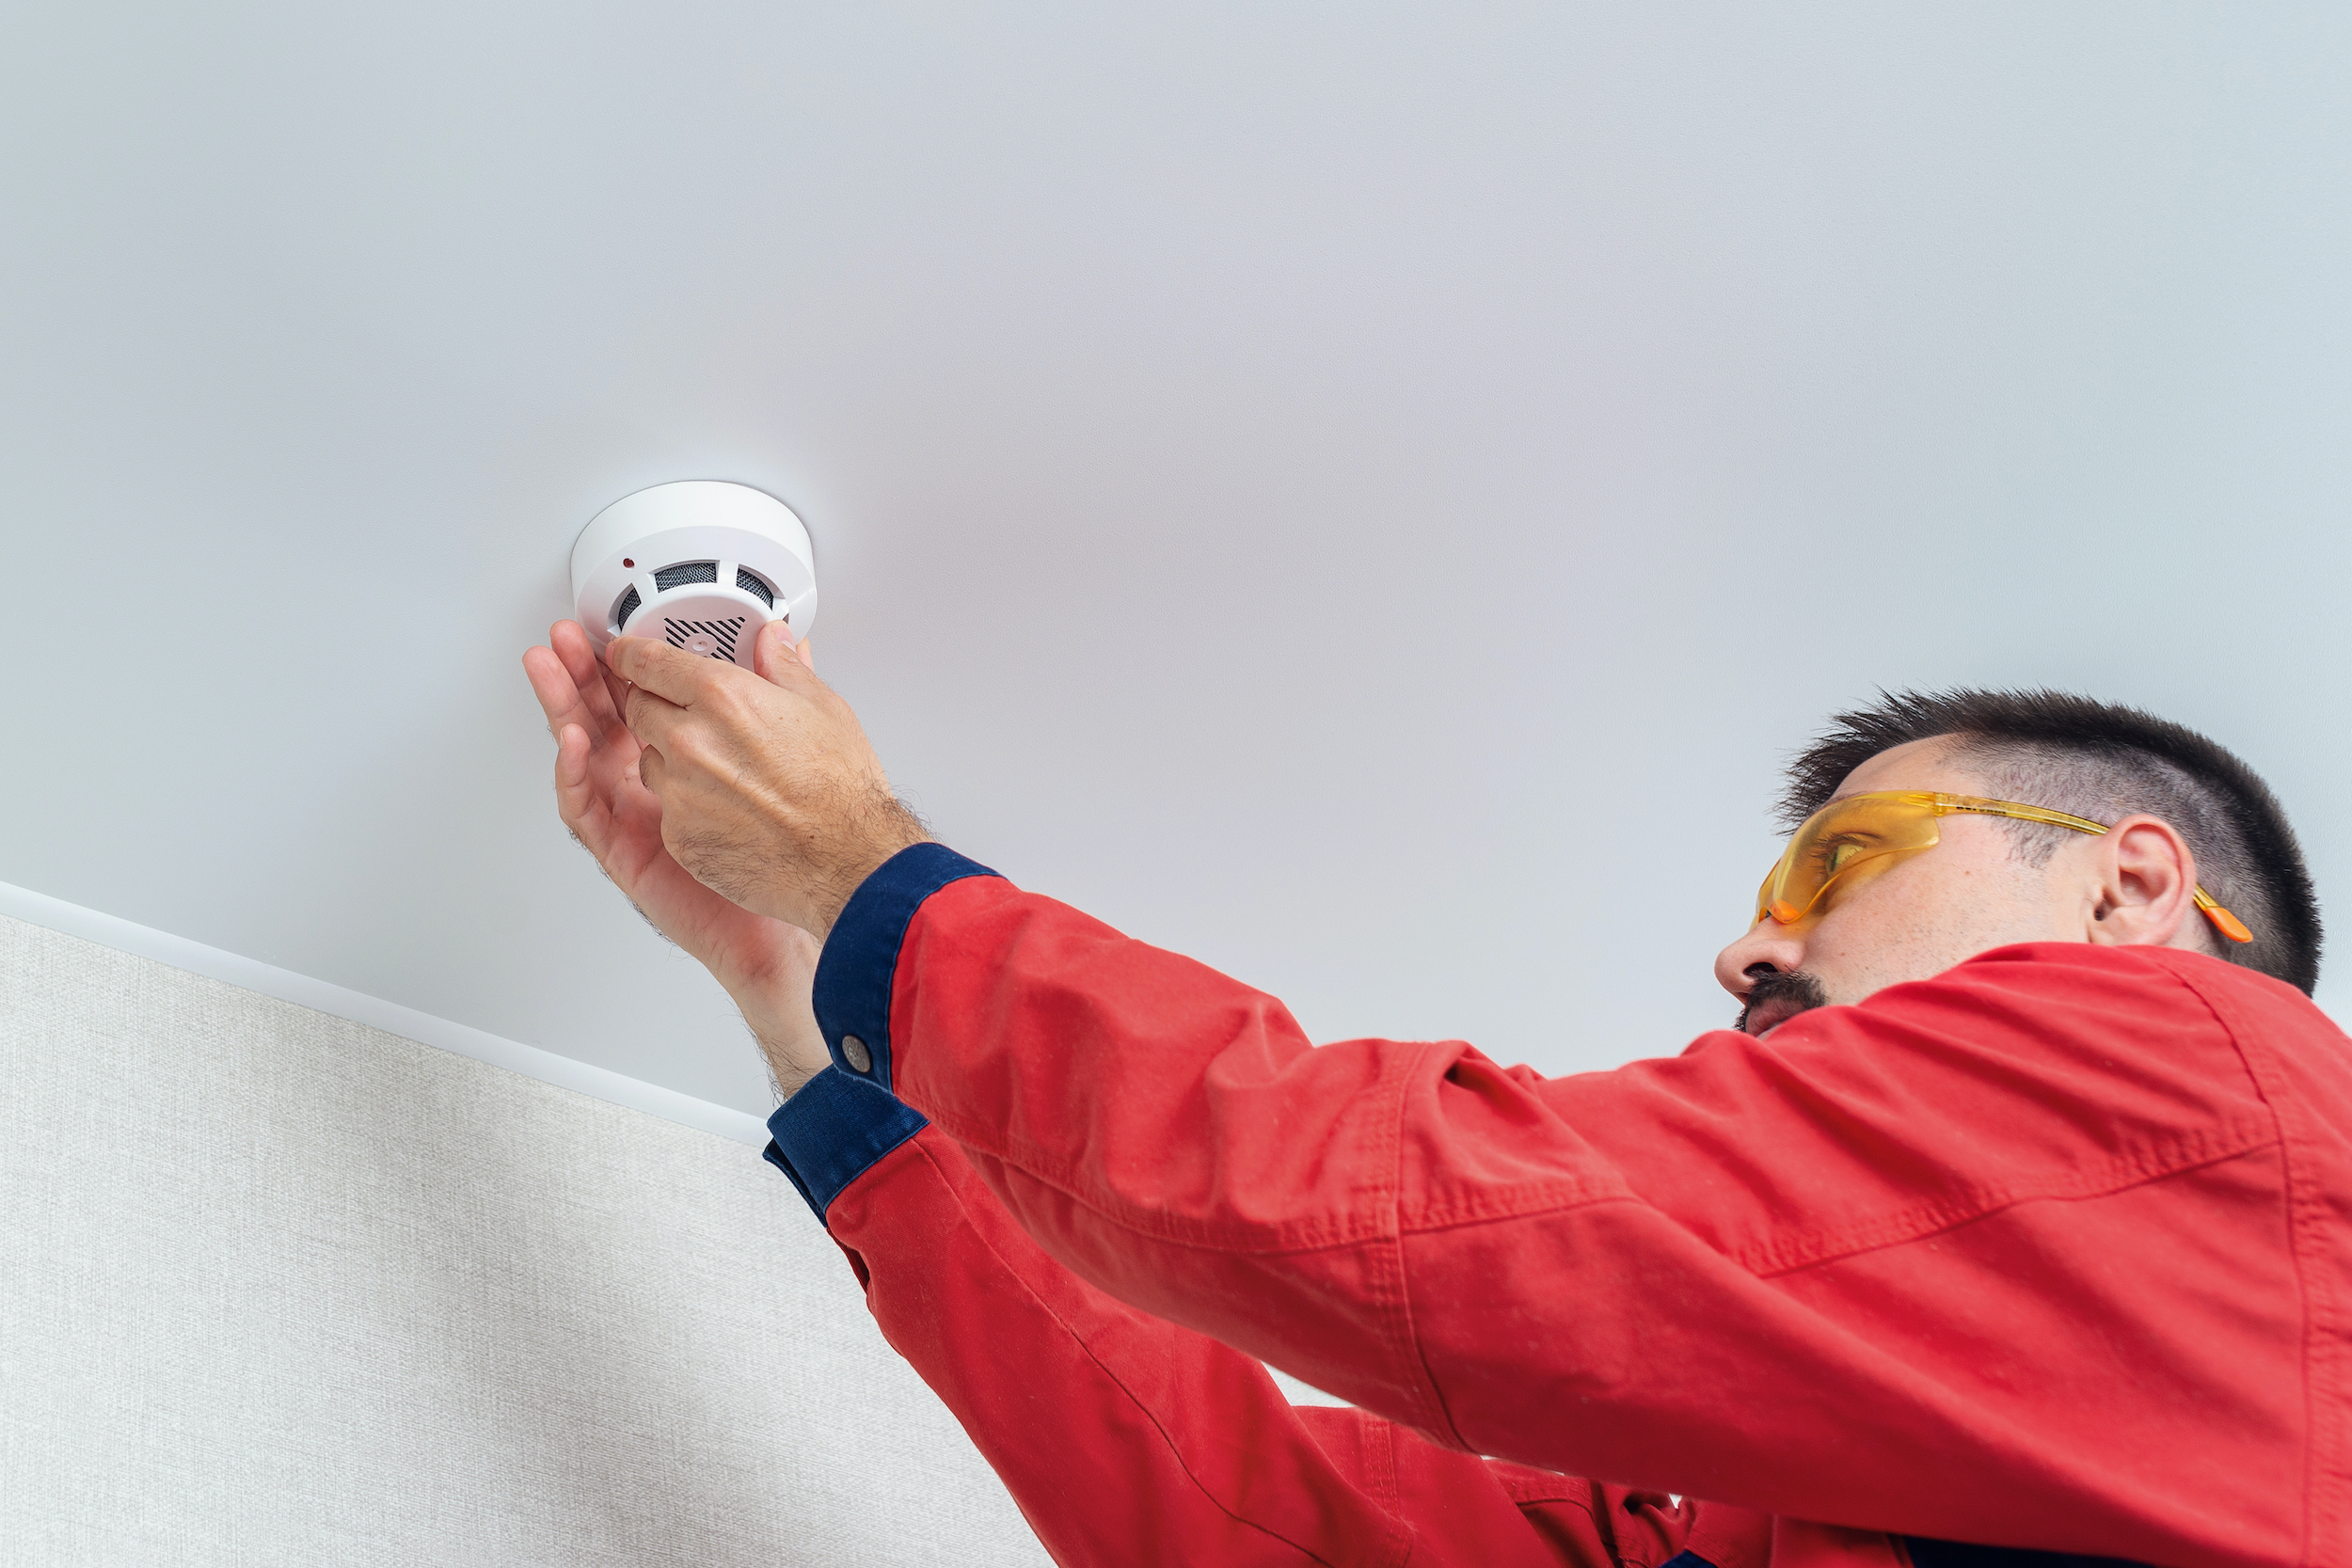
Please refer to the instructions provided with the alarm. If you’re not certain, a smoke and combination smoke/carbon monoxide alarm is typically installed on a ceiling. A carbon monoxide alarm is typically installed on a wall about five feet above the floor.
Step #3
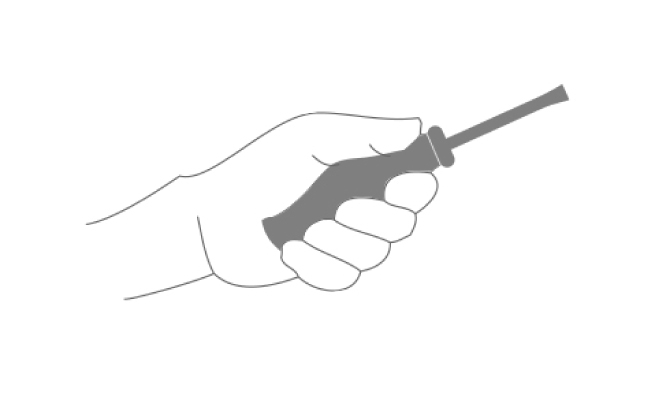
Using the back of the Smoke/carbon monoxide alarm as a template, mark the center of the fixture holes with a pencil.
Step #4
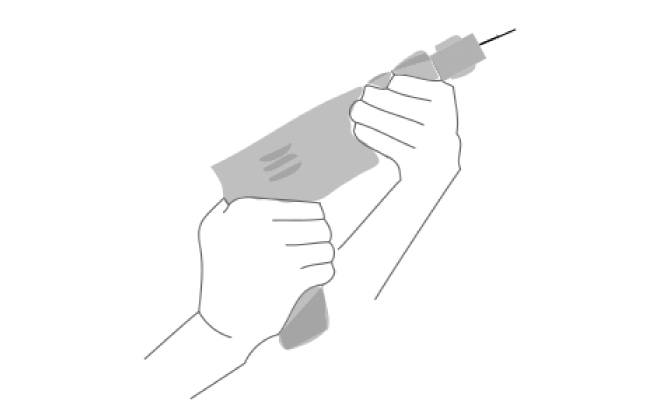
Drill a hole through each of the pencil marks. An electric drill is fast, but any drill will do – make certain to use the proper drill bit size.
Step #5
If you can tighten screws into a ceiling rafter or wall stud, the next step is easy. However, if there is no reinforcement, install “wall anchors” in the holes with a hammer.
Step #6
Insert two screws and tighten until the back plate is secure.
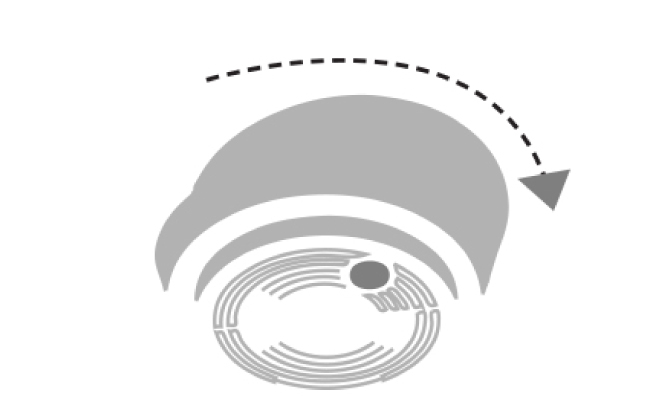
Step #7
Attach the Smoke/carbon monoxide alarm to the back plate. Most units rotate and “snap” into place.
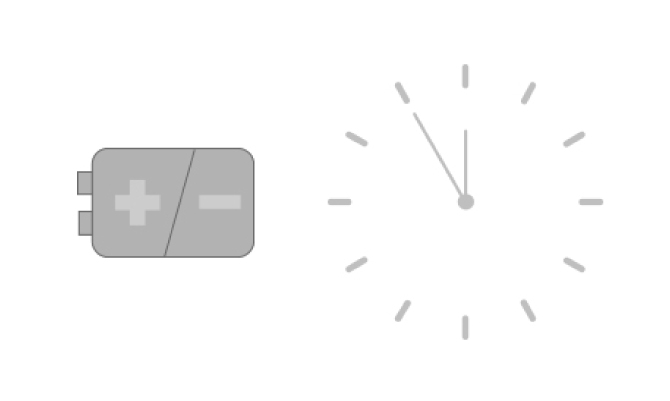
Step #8
Test the unit once a month – and replace the batter- ies when you change the clocks for daylight savings and daylight standard time.
Step #9
Press the TEST button (again!) to verify that it oper- ates and can be heard easily.